Hard Lemonade 3-6-11

As classy as my mom is, the only alcoholic beverage she can stand to consume is Mike’s hard lemonade.  So brother and I decided it would be great to present her with some homebrewed hard lemonade on Mother’s Day.  Lots of recipes exist online from people that have made a similar drink, which let us pick and choose exactly how we wanted to brew this one.

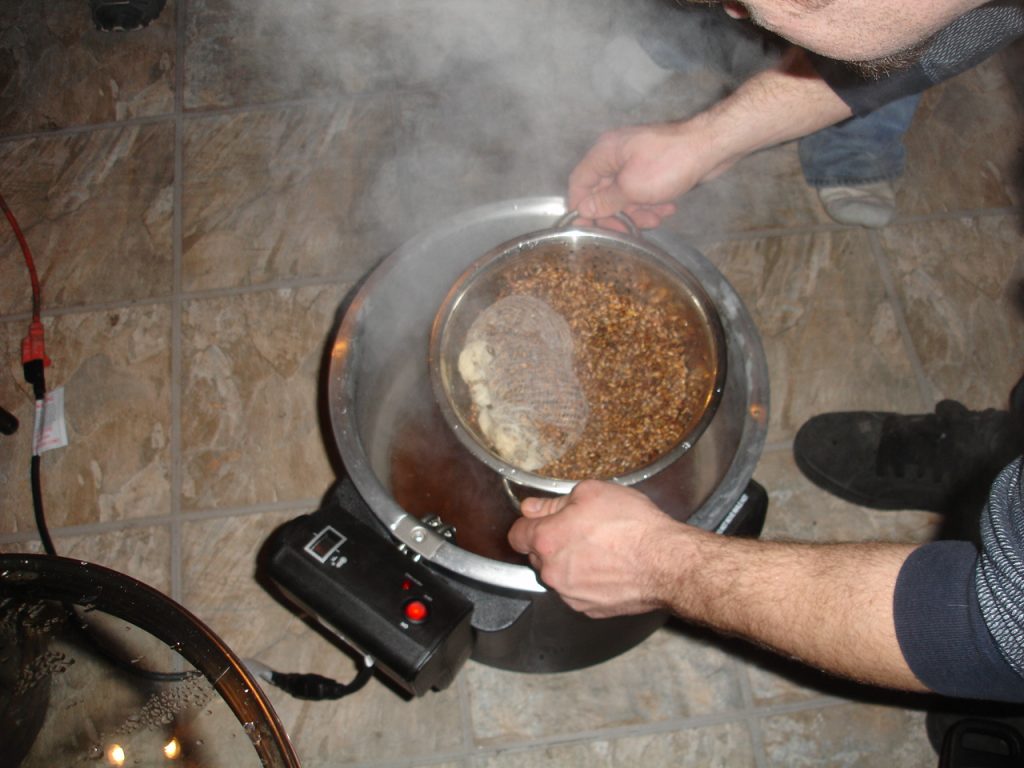
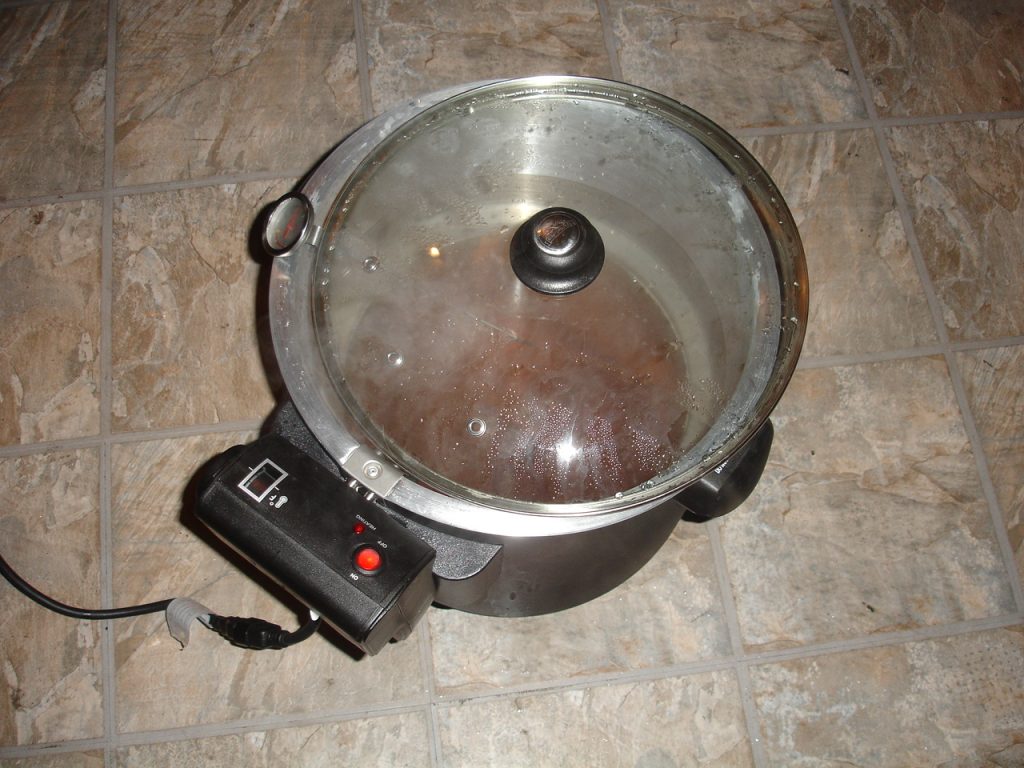
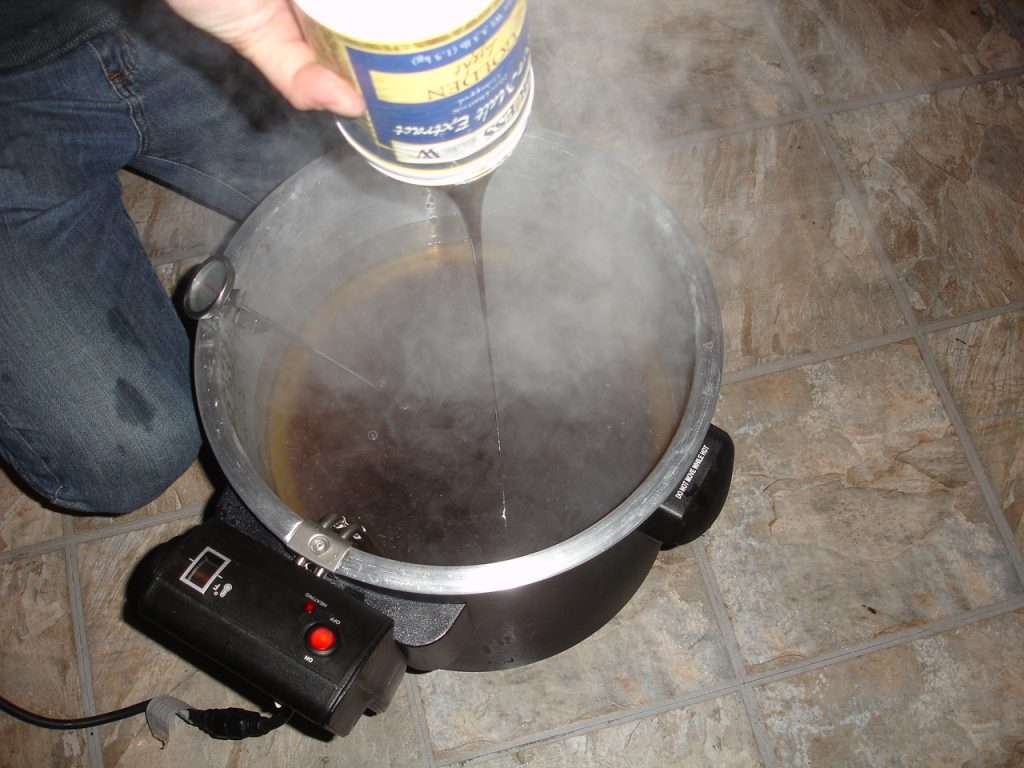
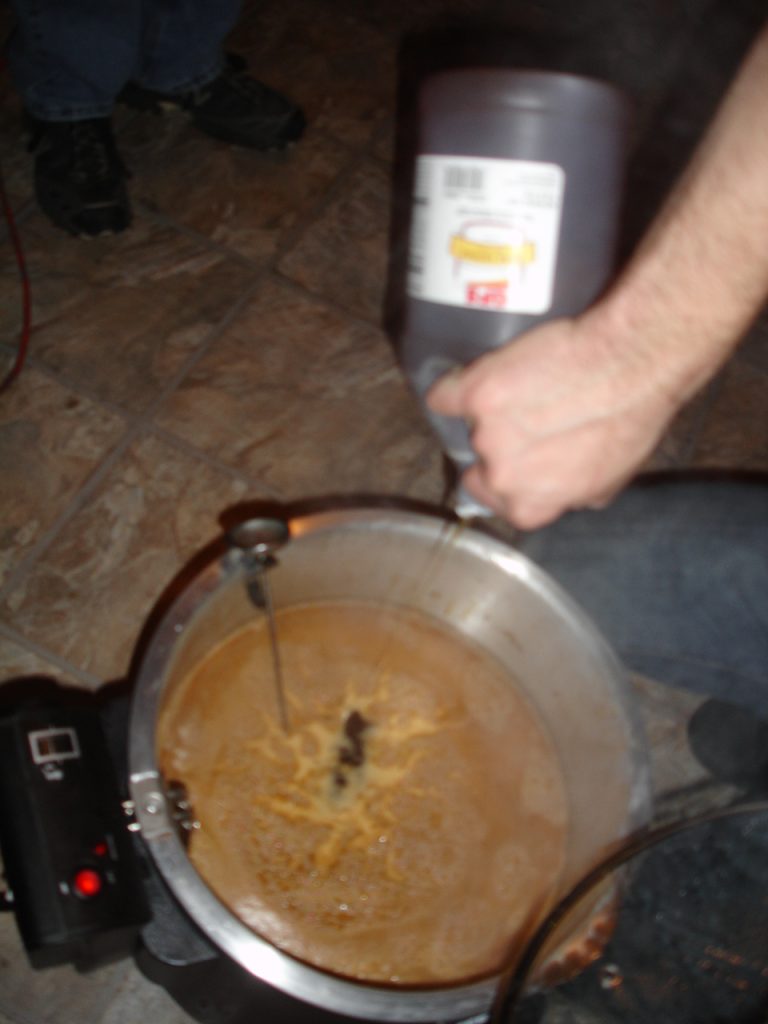
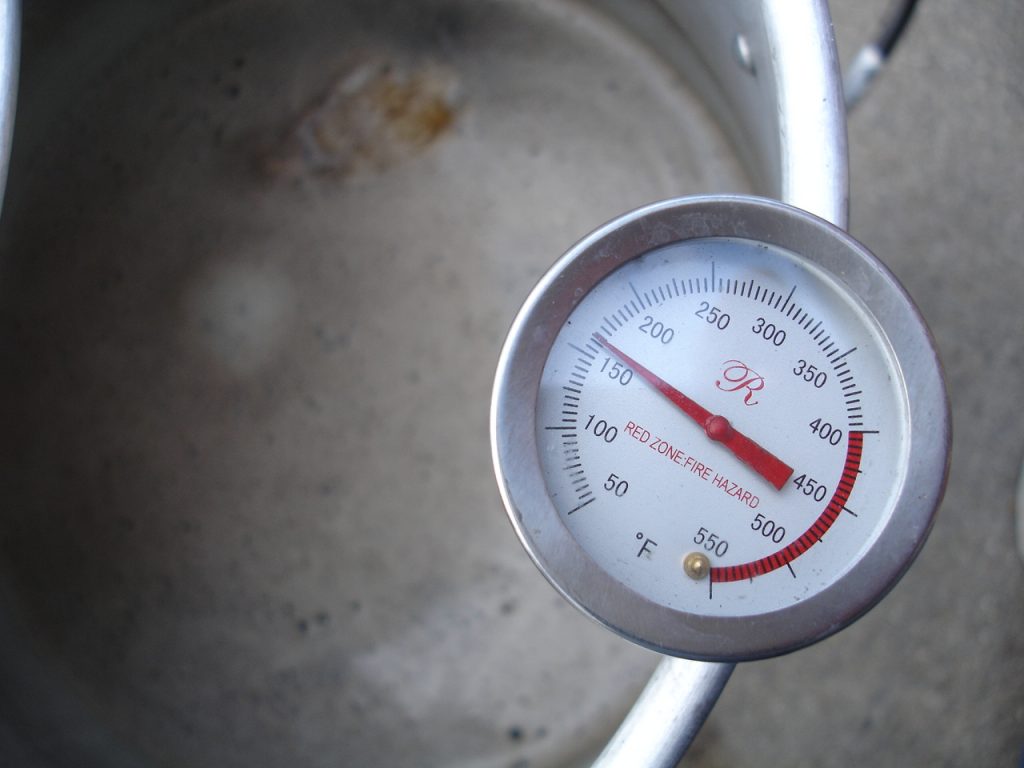
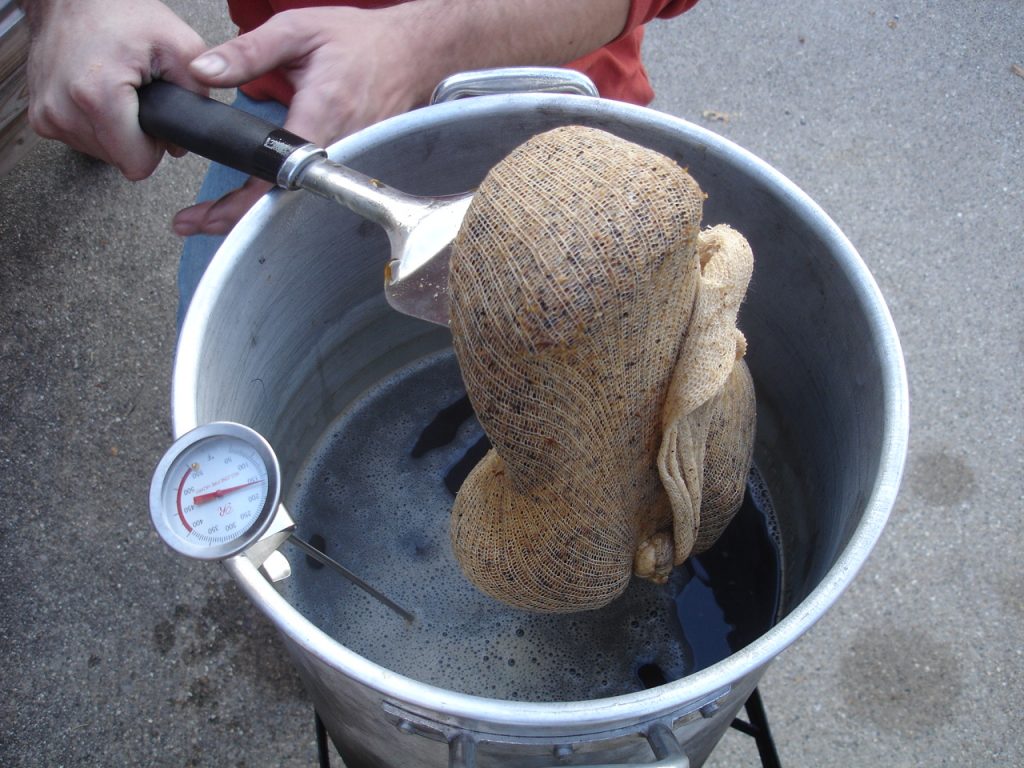
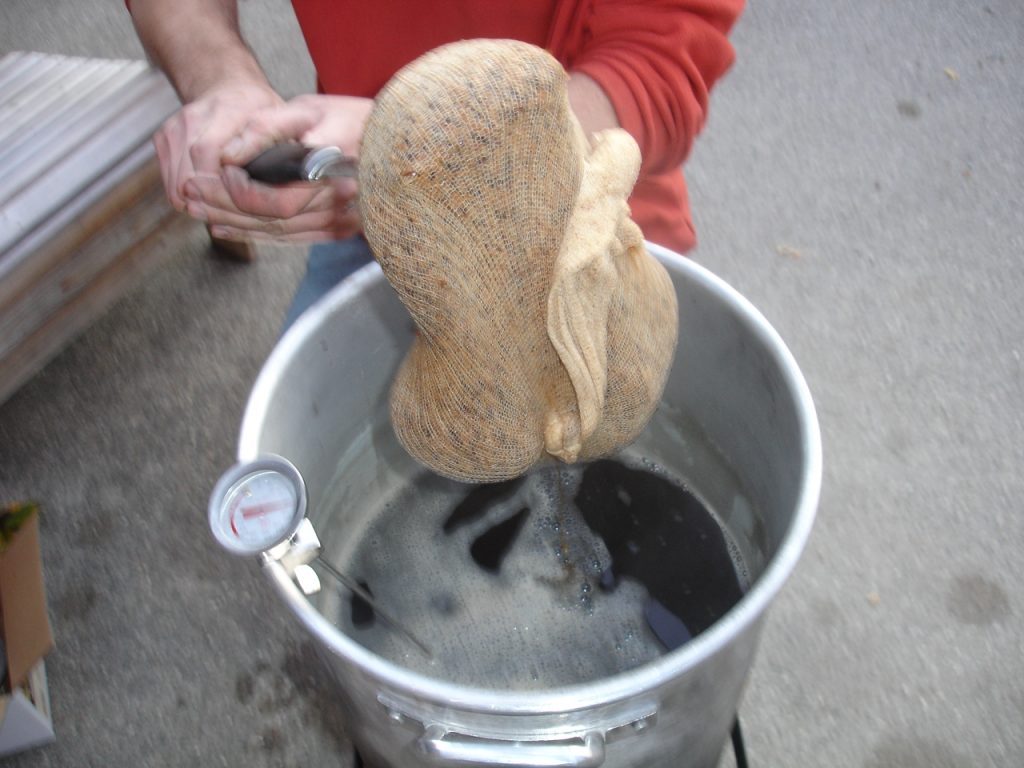
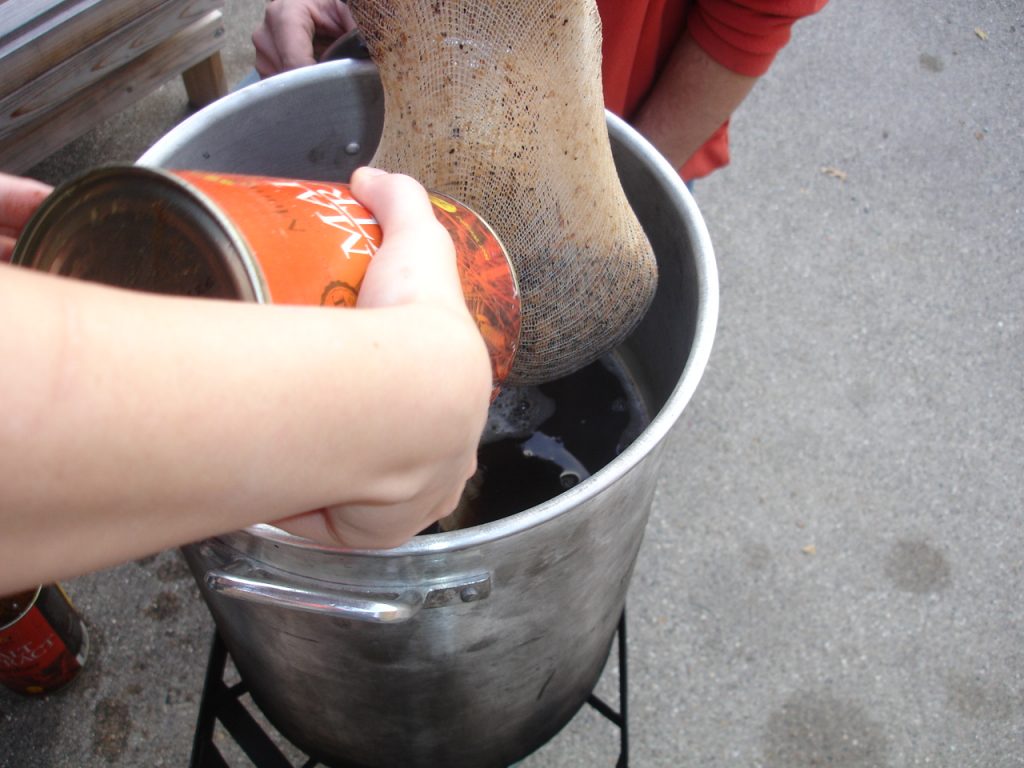
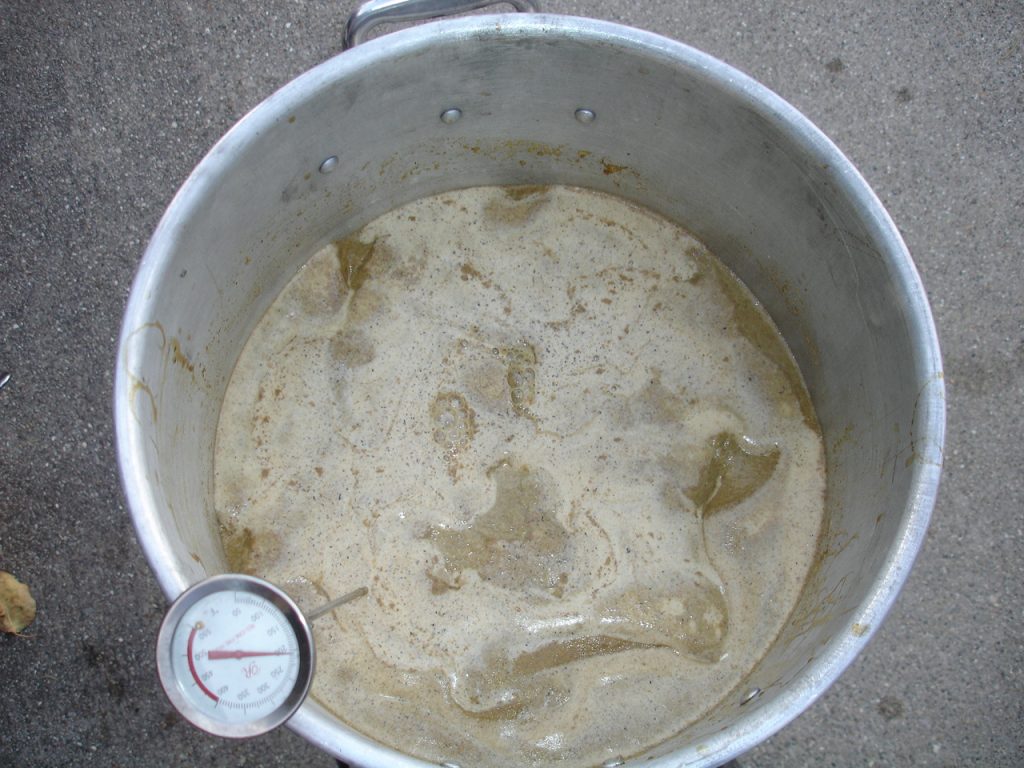
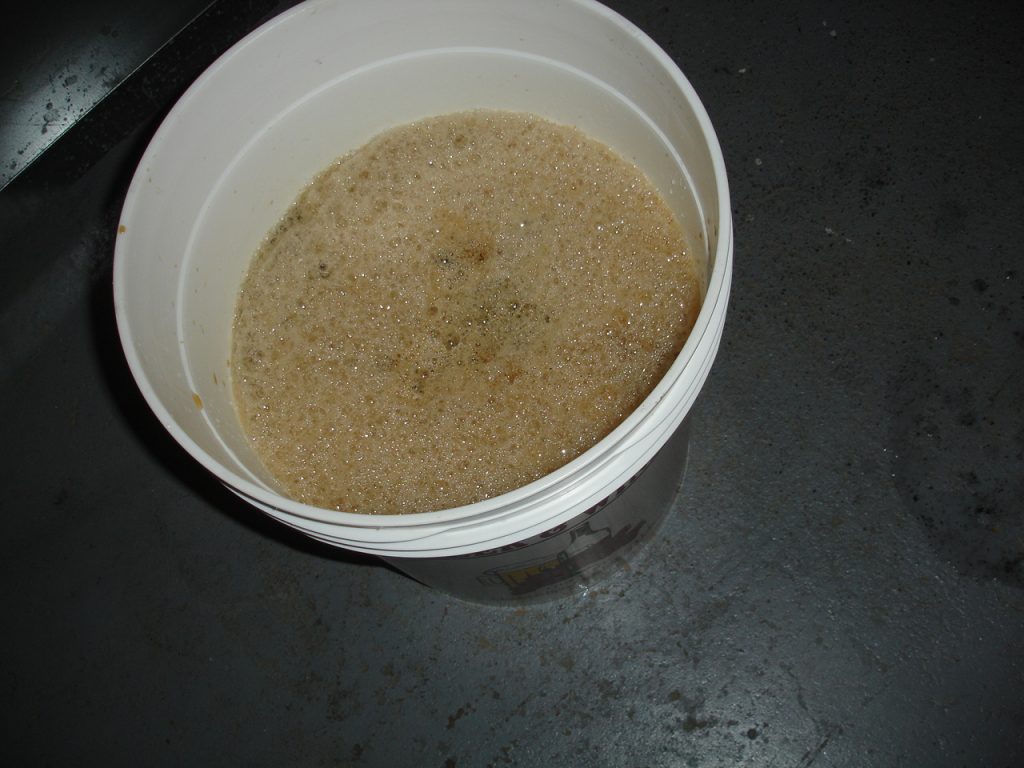
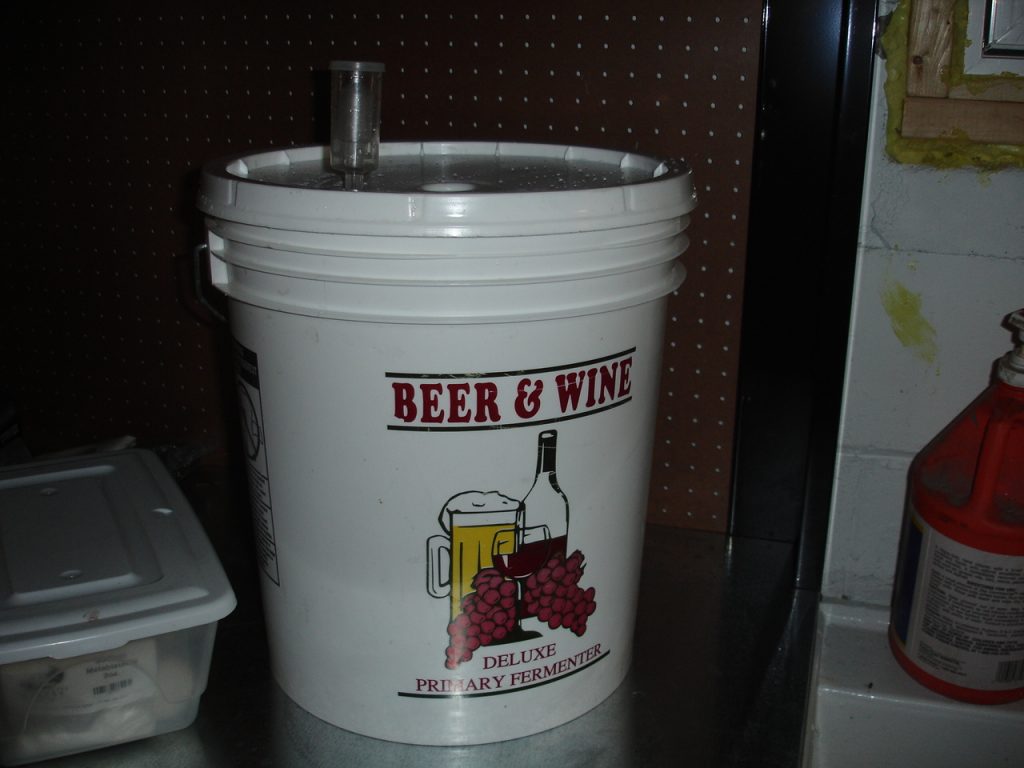
We started with a malt base by using 2 lb of Golden light dry malt extract.  The extract was boiled with about 4 lbs of sugar for around half an hour to dissolve everything.  That was set aside to cool while we prepared all the lemon concentrate, etc.  For the lemon flavor we used a mix of  frozen lemonade, frozen lemon juice concentrate, and 1 can of orange juice.  This was all stirred up together in the primary fermenter bucket along with 2.5 gallons of water. We then added the wort made from our dry malt extract to the fermenter. This brought our total liquid volume up to right around 4 gallons and as luck would have it we had hit our target specific gravity of 1.080.

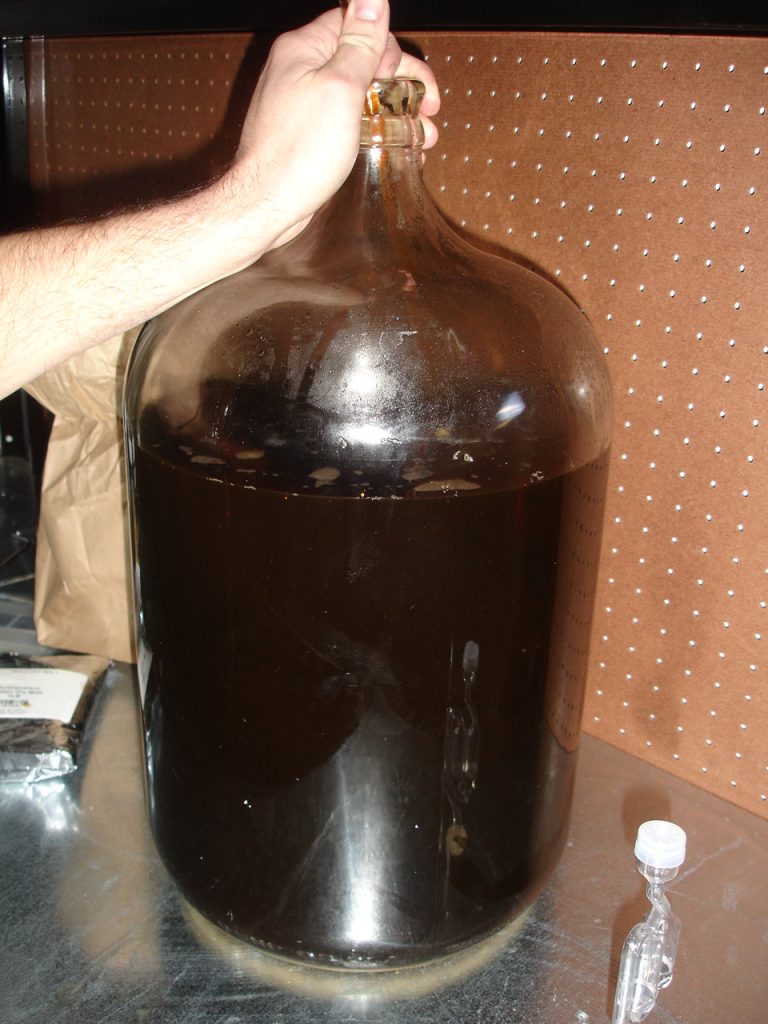
That high of a gravity has the potential for around 10 percent alcohol, which is a bit high because I don’t think Mother could handle much more than 1 bottle at a time.  Hopefully the yeast will die out early, and leave us with quite a bit of sweetness.  Or we may have to use something to stop the yeast, and then back sweeten the lemonade to taste.

From what I’ve found online it can be slow to ferment a beverage like this. Basically because the acid in all the lemon juice can be hard for the yeast to work in.  So I made a starter for the yeast packet, just using warm water, and then slowly adding in some of the lemonade.  I also added some yeast nutrient to the primary when I pitched the yeast.

Ingredients list

2 lb Briess Golden Light dme

4 lb Corn sugar

3 Cans Minute Maid Lemonade

1 can Orange juice

6 bottles of Minute Maid lemon juice concentrate

1 packet Lalvin EC-1118 Champagne yeast

OG 1.080

4 gallons

Brewer’s Best IPA

I just can’t stand to have any empty fermenters.  So after I transferred my  Oktoberfest to the secondary, it was time to get something cooking in the primary again.  Of course its another Brewer’s best kit… hey they were buy one get one half off!

Now it seems like all the breweries have been trying to “out hop” one another and make the hoppiest, yet drinkable, beers.  These beers may not be everyones cup of tea, but I rather enjoy a very strong hop presence.  Which led me to try and “hop” this kit up a little bit.  This pre-packaged kit came with 4 oz. of  hops total. 2 oz. of cascade and 1 ounce of Columbus for bittering. and 1 oz. of cascade for aroma.  I added 2 more oz. of Columbus and 1 more of cascade.

Again these kits are very simple, and I won’t bore with the same process that is basically repetetive, but I will share the basics of the recipe.

  • 2 3.3lb cans of  Munton’s light malt extract
  • 1 lb of Light spray malt dry extract
  • 1lb Crystal malt 40l
  • 80z. Victory malt

And my hop schedule was as follows:

Based on a 60 minute boil

  • 60 min.-    2 oz. Cascade
  •                      1 oz. Columbus
  • 40 min.-  .5 oz. Colulmbus   
  • 30 min.-   .5 oz Columbus
  • 20 min.-   .5 oz. Columbus
  • 10 min.-   .5 oz. Columbus
  • 5 min.-     1 oz. Cascade
  •                 .5 oz cascade dry hopped in primary bucket
  •                  And .5 oz reserved to dry hop in the secondary

This kit claims 45-49 IBU so with my additional hop additions I’m hoping to be somewhere around the 70 IBU mark.  But I’m no mathlete, and to lazy to figure out any formulas.

I was also pretty much spot on as far as my gravity is concerned. With the kit stating 1.061-1.065,  my gravity reading just before yeast addition came in at 1.060.

Brewer’s Best German Oktoberfest 1-29-11

Well, here in Michigan its colder than a well diggers ass.  Which makes my cement block basement also cold.   The low temperatures make it hard to enjoy the man cave in the basement, but on the plus side its still perfect for lagering some beer.  The thermometer next to my brewing station stays pretty steady around 50 degrees, and that is right where I want it for primary fermentation of my German Oktoberfest.

  The Brewer’s Best German Oktoberfest kits was the first partial mash kit I tried and I had really good luck with it.  It was a big hit all my friends that came over, even ones that don’t usually drink craft beer explanation.   The local home brew store just happened to have it on sale so I couldn’t say no. Especially since the last batch has been long gone.

  The brewing process of this kit is very simple.  There are 2 small amounts of Crystal malt included as the specialty grain, which we steeped at around 160 for 20 minutes.  Then after bringing the wort to a nice boil we added the 1lb bag of Amber Dried malt extract and the 2-3.3lb cans of Munich Liquid malt extract.

  Upon bringing the water back to a boil it was time for start the hop schedule.  This kit only included 2 oz. of hops, 1 oz. of Willamette hops was added for bittering as soon as the water reached its boil.  Then with 20 minutes to go  in the 60 minute boil we added the other 1oz. package of Willamette for the flavoring hops.  Let it boil for that final 20 minutes then it was time to start cooling the  wort.

   Our “Ghetto” cooling contraption is basically just a large metal tub we fill with ice or snow, in this case snow, and set the brew kettle down into.  It usually works quite well especially with  such a low quantity of water as this kit was designed for only a 2.5 gallon boil.  Once the water cool off considerably it was poured into the primary fermentor and topped off with cool water.  The bucket was capped and airlock filled, and we let everything sit for about another hourto cool before pitching the yeast, since the yeast in the this kit was designed to work between 48-58. 

Unfortunately I wasn’t able to take an Original gravity reading since my dumbass broke my last hydrometer as I was sterilizing all my equipment before makeing this batch.  But visually the beer was fermenting quite nicely after a few days, and should hopefully be juat about fermented out in 2 weeks when I will transfer to a secondary.

Holiday Ale

Well I hate Christmas, and all the other “Hallmark Holidays” surrounding it. Rushing around visiting people you luckily only have to deal with maybe twice a year, yeah thats always a JOY. So I decided to make something to at least help take the edge off of it. A cranberry infused holiday ale.

As is normal we started with a simple recipe and then twisted it up a bit. I found a simple partial mash recipe online and we deviated from it just a bit, well probably a little bit more than that. For our main base malts we used 2 cans of Liquid malt extract. One Briess Golden, the other a Briess Bavarian Wheat. The only specialty grain used was 1lb of Crystal (25L). Also around 2lbs of honey was added to the boil, this beer has the potential to be as sweet as me!

Since only a small amount of grain was used, I was able to steep it on the stove in a medium sized pot. I kept it at a temp of around 160 for 25 minutes before adding it to our electric brew kettle, which already had some water heating up in it. I then sparged the grains with some hot water and continued to bring everything up to a boil. Once a nice boil was achieved both cans of malt extract and the honey were added. That cooled the kettle down just a bit and I waited till it came back to a boil before it was hop time.

Our hop schedule was fairly simple on this beer since it wasn’t going to be an overly hoppy beer. A 1 hour boil was planned and the first addition was 1oz. of Willamette. We then played the waiting game for half an hour, and relaxed watching some more 3 stooges(see Pilsner post). At the half hour mark 1/2oz. of Kent Goldings hops was added, along with the peel of 3 oranges and some spices like nutmeg and cinnamon. Boy if this beer doesn’t taste good I’m it coulu just be warmed on the stove and used as an air freshner. Our last addidtion came at ten minutes from the end of boil, which was our last half of the Kent Goldings. The final ten minutes of boil and then removed from the heat.

Upon terminating the boil I added some cranberry. Now I don’t much like fruity beers, and don’t want a whole lot of fruit taste, but I think a little may not hurt. And Cranberry sounded good in a wheat beer. So I only added an 8oz. can of cranberry sauce. I didn’t want to mess with the actual berries, so that seemed like the next best thing. Hopefully it gives just a hint of flavor to our beer.

The mash tun was cooled, then added to our primary fermenter bucket. I filled it back up to 5 gallons with cool water and then let it settle back down to around 75 degrees. A gravity reading at this time was at 1.064, which should leave a fairly high alcohol beer. PERFECT! I added a packet of Safbrew wheat ale yeast, and placed the lid on the bucket and went back to watching my stooges. By morning a good amount of bubbles were forming, and the smell was delightful. Spices and hops really hit my nose when I opened the bucket. Lets see how it turns out in a few weeks.

Ian

Extract Pilsner

Most people can find some inspiration in watching The 3 Stooges, if you are normal. So its no surprise that after watching some “Stooges” we were inspired to make a batch of “Panther Pilsner”, like they did in one episode. Although I hope we have a somewhat better result.

Scott and I set up on a saturday night with my new electric kettle and all our other equipment. A mix of both liquid malt extract and dry malt extract and 2 packages of hops. This wasn’t a recipe just us flying by the seat of our pants.

Our plan was a simple 60 minute boil with fairly simple hops additions. We started with adding 2 lbs of the Northwestern golden dry malt, and following that with a 3.3lb can of Briess Pilsen liquid malt extract. Once that reached a boil we added 1 oz. of saaz hops. That was then followed by 2 .5 oz. additions of Gelena hops at the 30 minute and then again with 5 minutes to go.

After cool down the beer was transferred to the primary fermenter bucket. I then drew off a sample to test the gravity, which was right about what I hoped for at 1.040 specific gravity. That should leave us a beer at right around 5% alcohol, anything less and it aint worth drinking;)

Although this wasn’t from any specific recipe, It is similar to many other pilsner recipes. I was a bit dissapointed though, my color was quite a bit darker then I had hoped. Traditionally pilsners are quite light in color, yet ours came out with a bit of a red hue to it. I attribute this in part to the dark color of the Liquid malt extract.

We shall ride this one out and hopefully it will end up with a tasty flavor. Overall in this beer I’m just looking for an easy drinker that even my heathen, “I don’t like dark beer” friends can enjoy.

Ian

New batch

With nothing better to do, other than sip a few cold ones, we decided to boil up a batch of beer on saturday night. And it just so happened that they had some good Brewer’s Best kits on sale at the local home brew store. We choose to try our hand at a Bock kit as these are traditionaly brewed in winter and then ready to consume for spring festivities. I’m sure I’ll be able to come up with some reason to party in the spring, provided there is some of this beer left.

In the past I’ve used several different kits from Brewer’s Best, and always had good results. Like most of their kits this one is a mix between extract and grain brewing. It took us just over 2.5 hours from the time we started cleaning the equipment to when the beer was cool enough to put into the primary. My plan is to let it sit in the primary for a week or so, then rack into a secondary for a few weeks.

Triple beer bottled

Bottled this new batch of Triple beer on 10-10-10. This was a simple extract kit from Brewferm. 1 3.3lb can of the liquid malt extract will make a .5 gallon batch of beer. So naturally I used 2 cans of the extract to make a 5 gallon batch of beer. The recipe from the can is quite simple, add the extract syrup and water to your primary fermentor and then the stated amount of sugar. For a little added zip I used some brown sugar and honey along with the normal corn sugar. This should produce a quite high original gravity which in turn will make a rather high alcohol content. The can from Brewtherm stated an O.G of 1.075 and 8% alcohol although my numbers were just a touch lower.

Upon bottling the beer had real nice carmely color, and tasted a bit sweet. Per the instructions that came with the beer It should be allowed to mature for 6-8 weeks before drinking the freshly bottled beer. This extended maturation period should help it develop some body along with building carbonation. Only time will tell, and I am definitly anxious to crack one!

Sparkling Wine

This is the Degassing step on our “New Millennium” Sparkling wine. This is a 3 gallon kit from Wine expert, and is very simple. The wine has already been in the Primary fermenter and then racked to a secondary. It has now been sitting in the secondary for about 10 days, after being in the primary for a little over 3 weeks. Now we just have to wait appoximately 2 weeks for the wine to clear before bottling. I hope to bottle at the end of October, which will the give the wine about 2 months to bottle condition before we crack one open on New Years Eve.

Ian